Showing posts with label lost coast designs. Show all posts

Sunday, May 20, 2012

Love looks not with the eyes . . .


Here is another layout from the hand bound book featured in the
latest Altered Arts--this one uses the beautiful Spread Your Wings
collage stamp found HERE.

Love looks not with the eyes, but with the mind, and therefore is winged
cupid painted blind.  (Tempest, Act I, Scene I)

Happy Weekend!

:)trisha

Sunday, May 6, 2012

The Rose Boy. Yes, AGAIN! ;)


Here he is, the Rose Boy, he always makes me smile!  (If you've been a Blockheads fan for a while, then you may know I went through a crazy Valentine making spurt using this fellow. You can see, ahem, several cards featuring him HERE.)

Anyway, the spring issue of Altered Arts is out, and you can see this layout on the cover, so I don't think I'm giving away any secrets by showing you here!  The hardware you see peeking out from the next layout, that is a fantastic set, with keys and doorknobs and keyholes--you can find it HERE.

:)trisha

Monday, April 16, 2012

Age is a Number


Created by: Colleen Dietrich, Design Team Member

Description: Masculine birthday card created using cereal box chipboard and Crackle Paint by Ranger.
Stamp Set Used: Bingo Border from Lost Coast Designs, available at Blockheads.
For step by step instructions for this card, visit my full blog post on Dietrich Designs.

Sunday, April 15, 2012

a hand bound book layout

I'm excited to have a little altered book in the upcoming
Altered Arts magazine--you can see a peek of the cover HERE,
featuring one of the layouts. (Did I mention I'm excited?)

Here is a little a peek into the book, one of the layouts you can't
see in the magazine:

When I Saw You

Aren't they a handsome couple?

The happy pair are from the Miscellaneous Anthromorphs set,
which you may remember is one of my favorites. How can you NOT love
those faces, and their fancy fine Victorian garb? It's like steampunk
meets genetic engineering gone wonky . . .

Have a great weekend, everyone!

:)trisha

Wednesday, March 14, 2012

"The Architect Fairy" & "The Isle of Aud Parade" - 2 Cards featuring Lost Coast Designs Rubber Stamps by Leigh S-B!


Created by: Leigh Snaith-Brunton aka The Sharpie Domino Queen and Design Team Member

This week I'm featuring Lost Coast Designs Rubber Stamps and I've got two projects to share with you.

Lost Coast Designs Stamps Used:
Winged Girl, Isle of Aud Animals, Zebra Border and Tree Branch Background.
All of these are available at Blockheads Paper Arts!

For step by step instructions for both of these cards please visit my blog, Leigh SB Designs:


Sunday, January 22, 2012


Created by: Trisha Neal Guest Designer

Description: Anthropomorph Valentine's Day Card.

Stamp Set Used: Miscellaneous Anthropomorphs from Lost Coast Designs.

For step by step instructions for this card, visit her full blog post on easily amused, hard to offend.

Friday, January 20, 2012

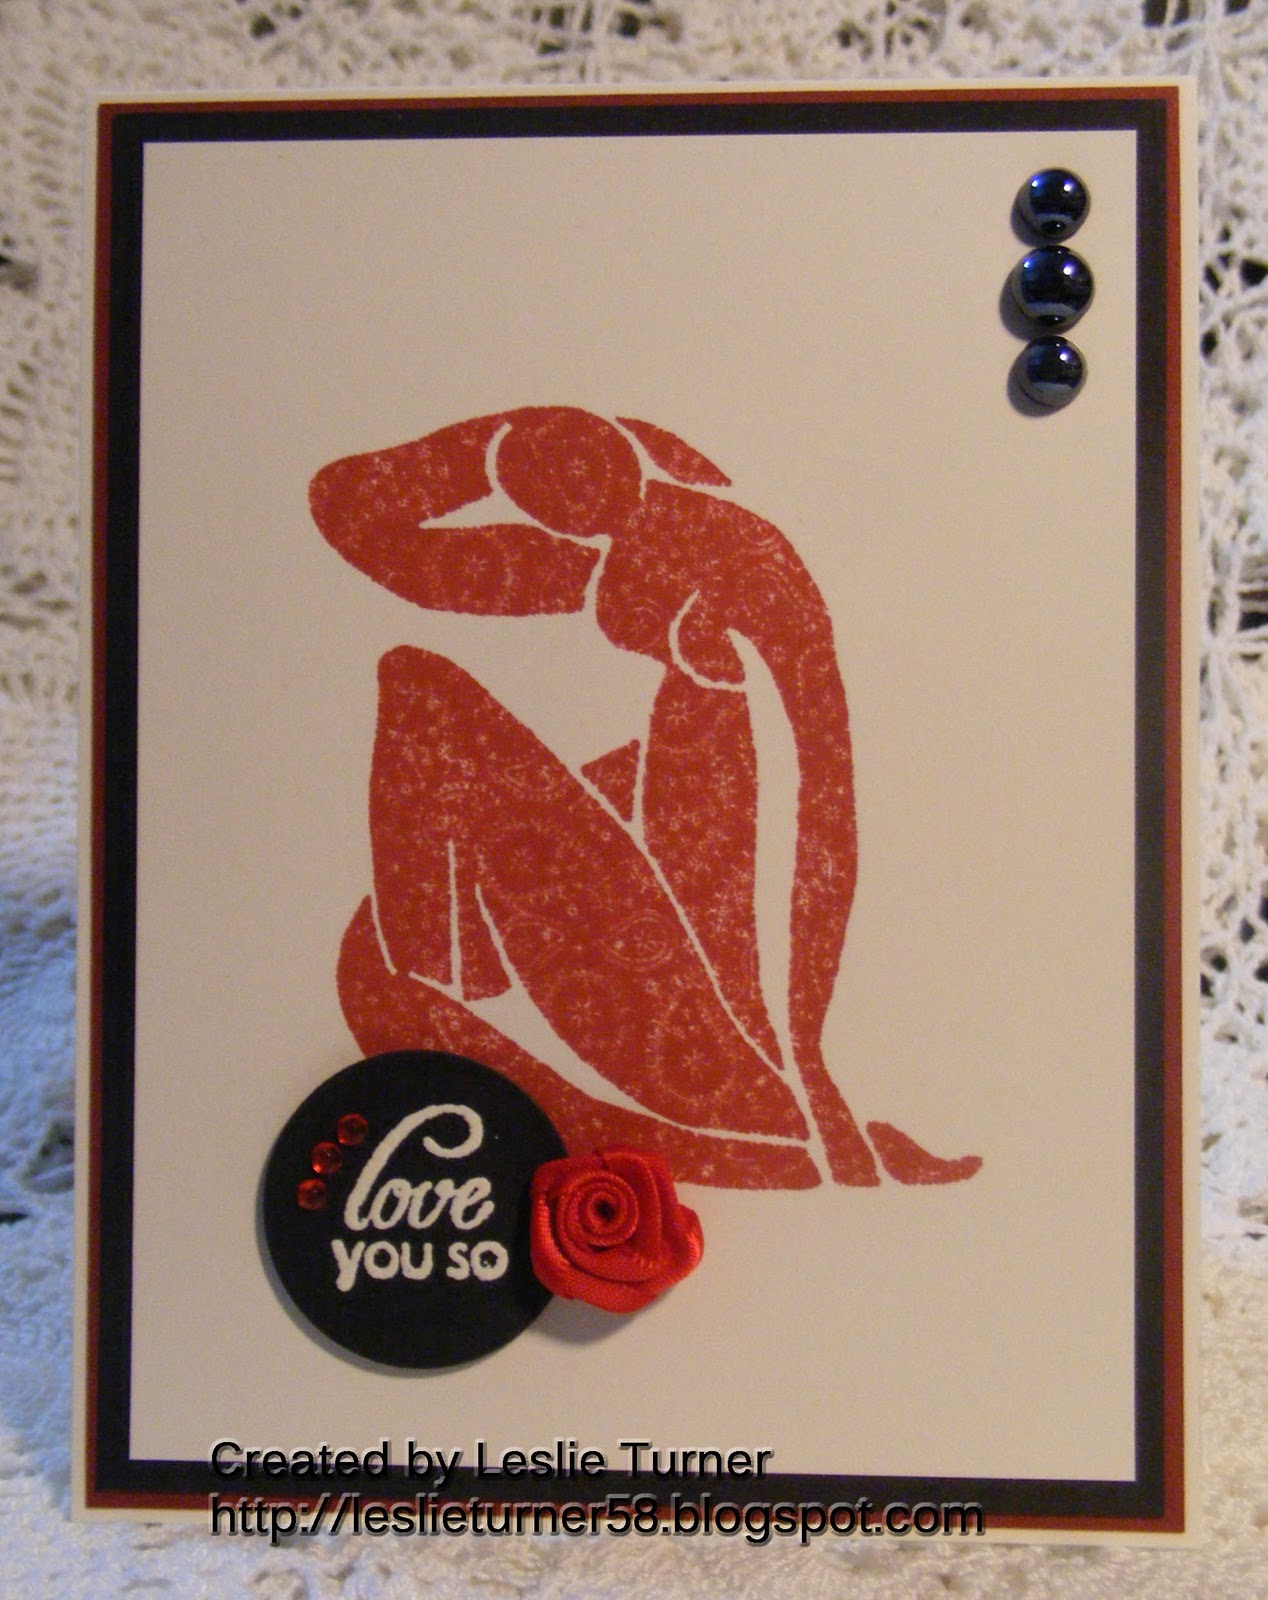
Love You So

Created by: Leslie Turner, Design Team Member

Description: CAS card.

Stamp Set Used: Lost Coast Designs Cubist Silhouette stamp

For step by step instructions for this card, visit my full blog post on Love To Scrap!

Friday, January 13, 2012

Template Tutorial And Lost Coast Design Stamps

Hello Blockheads!  I have posted a tutorial on my bog showing one way to use  a Crafter's Workshop Template.  I used Lost Coast Design stamps, which are available at Blockheads Paper Arts!!!!  Instructions will show how I made this card using the Crafter's Workshop Distressed Diamond template.

Click over to my blog, Dreaming and Creating for lots of Lost Coast Designs stamps and Template fun---HERE
Have a super great day!!
Karen McAlpine

Wednesday, December 14, 2011

More Isle of Aud

I know it appears I'm addicted to the Isle of Aud stamps, ok maybe.  I really wanted to use the images in a more realisitic way with less fantasy coloring. 

Here is my list of products:


Basic Instructions: All of the mottled backgrounds were created by applying Distress ink directly to

Tuesday, December 13, 2011

Isle of Aud Safari Cards

These images from Lost Coast Designs are all fictional creatures with beautiful detail and designs.  Sometimes I color them realistic colors to downplay the "aud"ness and other times I play it up with bizarre colors.  They are a great size for the center image on a card, leaving lots of room for embellishing or for ATCs.  I colored all my images in advance using Prismacolor Pencils. Read more for information on how to create the alcohl ink backgrounds, a list of supplies and larger images.

Wednesday, August 31, 2011

Distress Stain Background Technique #3

This is my third and final Distress Stains backgrounds post.  This one was actually of my favorite.  I created a full 8.5" x 11" sheet of cardstock with this background which I then cut into four, so even though it took longer than the other backgrounds I still get a pretty good return on my investment of time.
For this project you'll need the following:
Plain white cardstock
Memento Ink Pad, london fog
Distress Stain, tumbled glass
Lost Coast Bubble Border stamp
Lost Coast Adrien Doll stamp
Colored Pencils, watercolor or regular
Stamp the Bubble Border several times using the Memento london gray ink pad.  Perfect spacing won't matter much by the time you cut this cardstock into 4 backgrounds.  Using your pencils color the outside of several larger bubbles using greens and blues.  This takes awhile.  I find they look more bubble-like by leaving the white center. 
Use the Distress Colorwash directly on the paper in the spaces between the bubble borders. I added a little definition to the edge of the stamped image with a silver paint pen. To embellish the card cut a piece of green Shimmer Sheetz in a wave shape and and used 3 sizes of hole punches to try to mimic the bubble border. The Adrien Doll stamp was colored using colored pencils, cut out and applied to the card using ATG tape down the center with a couple pop dots under each wing.


 Trim the 1/4" off the edges the cardstock all the way around to remove the areas that weren't stamped by the 8" stamp.  Cut the paper into four 4" x 5 1/4" pieces.
I added a little definition to the edge of the stamped image with a silver paint pen. To embellish the card cut a piece of green Shimmer Sheetz in a wave shape and and used 3 sizes of hole punches to try to mimic the bubble border. The Adrien Doll stamp was colored using colored pencils, embellished with Stickles glitter glue, cut out and applied to the card using ATG tape down the center with a couple pop dots under each wing.

Tuesday, August 30, 2011

Distress Stain Background Technique #2

The background I used for this card was the easiest of the 3 different distress stain backgrounds I created.  Once again, I've used the Lost Coast Designs Bubble Background Stamp.

Items Needed:
Black Ink any brand
Teal cardstock
Any interesting blue specialty paper or leftover paper from other projects
Lost Coast Stamps: Bubble Background, Wing Mermaid
Spray bottle with water
Non-stick Craft Sheet, Wax Paper or Aluminum Foil

The first step is to stamp the bubble background in Memento London Fog ink or another waterproof gray ink. 

If you don't have a non-stick craft sheet handy, you can use a piece of aluminum foil or wax paper.  You simply want to keep from staining your work surface.  Use three colors of dabbers and apply some ink directly to your craft sheet.  Spritz with water until you see small droplets form like shown.

Put your stamped cardstock face down into the distress pools.  You can pick it up and re-apply color in areas you want to add more color.

I actually used up my first batch of color and aded a little more to the craft sheet and continued.  I sped up the drying process with a heat tool and allowed the background to straighten out under a heavy book for a couple hours.  I then used colored pencils to color in some of the bubbles in various sizes.  Markers would also work for this.  I drew small dots in the upper right area of the bubbles I colored using the Inkssentials opaque pen.  This makes them look more like bubbles instead of just dots.  I also stamped the bubble background in black on some interesting cardstock I had from another project and punched 1" circles out of it as well as some teal cardstock so I could make 3 larger floating bubbles.

I used Copic Markers to color the mermaid, but colored pencils or other markers would work well.  I also embellished with some pearl color embellishments on the circle bubble cut-outs and white opal liquid pearls on the wings and crown.  Finally I added some waterfall color Stickles around the edge of the cardstock after I assembled the card for just a little more of a magical glitter look.

Thursday, August 18, 2011

Distress Stain Background Technique #1

This is the first in a 3 part post about ways to create cool backgrounds using Distress Stain dabbers.  I love the Lost Coast bubble background and bubble border stamps for backgrounds.  This is the the easiest of the backgrounds.  I first stamped the background image in waterproof black ink.  I used a Memento Ink Pad but you could use Ancient Page, Archival, Memories or Palette Hybrids.

Since I used a black ink I can apply the stains direct to the plain white cardstock without the image being overwhelmed by the ink.  I randomly swiped broken china and tumbled glass distress stains in various areas.

Next I added some crushed olive.

By spritzing some water the colors blended a little and I added a little more of the blues.

On a separate piece of cardstock I stamped the Lost Coast butterfly mermaid and colored it using Prismacolor pencils.

I added some little white dots to the larger bubbles on the background using the Inkssential Opaque Pen.  I cut the colored mermaid out but felt it didn't stand out on the dark background. 
My simple solution is to add a little cloud white versamagic direct to paper.


This mermaid was really screaming for stickles so I drew some scales on the mermaid tail and added some purple dots on the bodice and highlighted some bubbles with Stickles glitter glue.