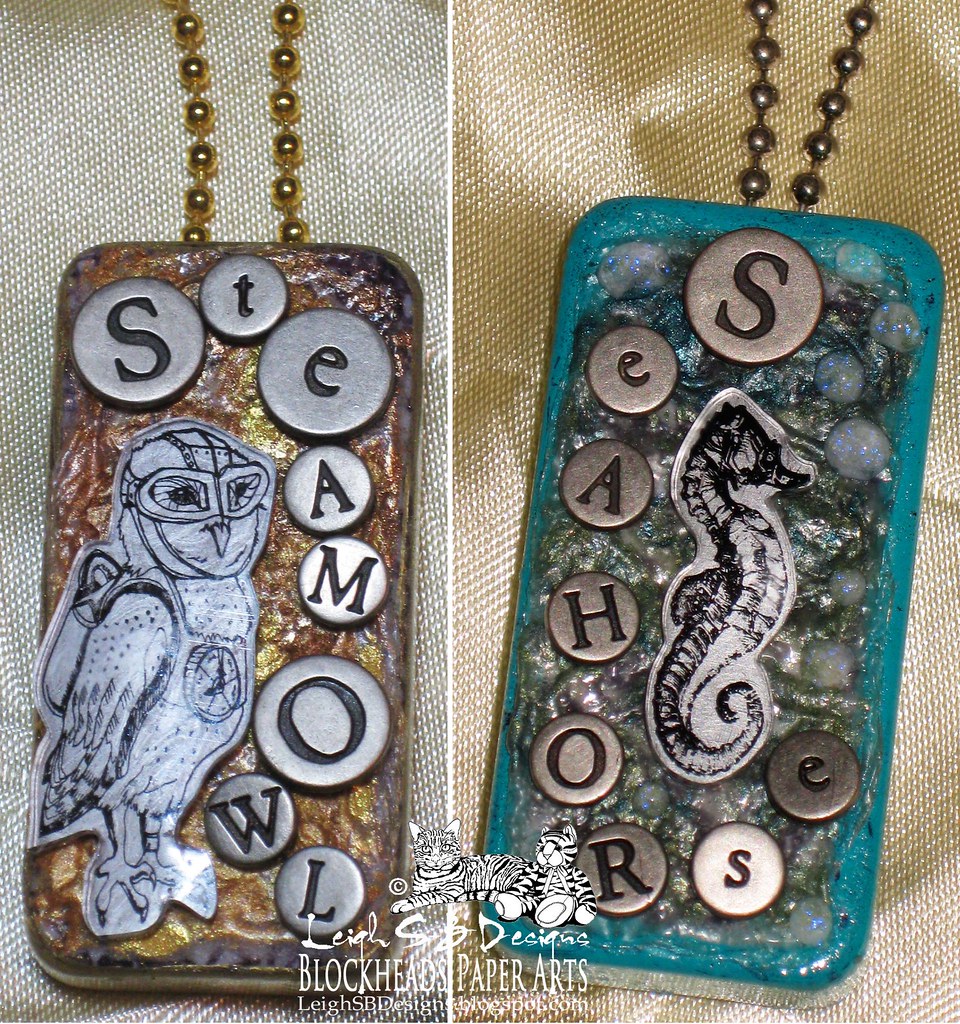
 | Created by: Leigh Snaith-Brunton - The Sharpie Domino Queen, Design Team Member Description: These DominoART necklaces were created with the Heated Pearls technique which I call Textured Pearls when used on dominoes. I used Perfect Pearls, Pearl Ex powders and Inkssentials shrink plastic. Stamp Sets Used: Fringe Folktails and the Seahorse from the Seashells with Round Sand Frame For step by step instructions for my altered game art please visit my full blog post on Leigh S-B Designs. |

Showing posts with label Perfect Pearls. Show all posts
Showing posts with label Perfect Pearls. Show all posts
Friday, March 1, 2013
Textured Pearls DominoART Necklaces by Leigh S-B


Tuesday, February 26, 2013
Vintage Dress Form with Perfect Pearls
| Created by: Karen McAlpine, Design Team Member Description: Cards created using Memento inks, Versa Magic ink distressing, Perfect Pearls, and a Sewing theme. Size: 4 1/4 x 51/2 " Stamp Set Used: Vintage Light and Form, Notions Half Sheet from Blockheads. For step by step instructions for this card, visit my full blog post on Dreaming and Creating. |


Friday, February 15, 2013
Bee My Honey DominoART Tag by Leigh S-B
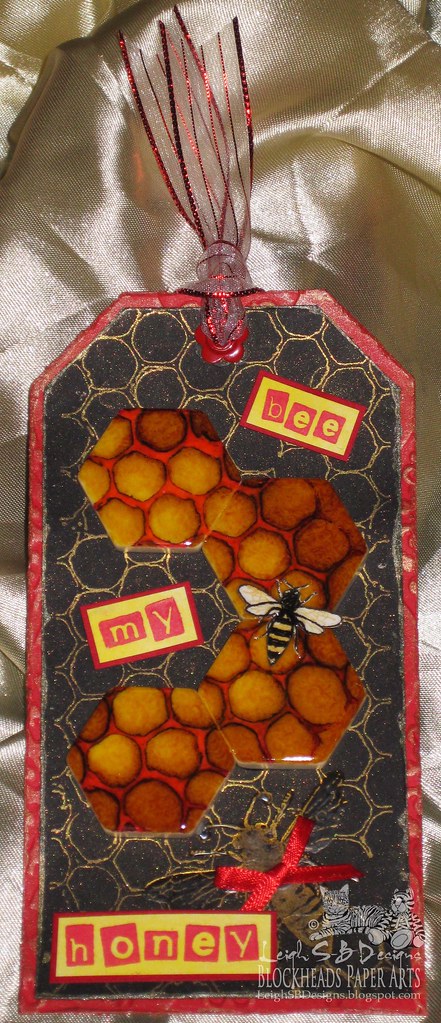 | Created by: Leigh Snaith-Brunton aka The Sharpie Domino Queen, Design Team Member Description: It's Romancing the DominoART time over at my DominoART blog and for Day 1 I shared the Valentine tag I made for my hubby. The honeycomb themed tag is embellished with domino-like game pieces and features a Perfect Pearls background and my signature "Sharpie Domino Queen" technique! Stamp Sets Used: ATC Honey Bees and Nature Medallions For step by step instructions for this DominoART tag please visit my full blog post on my DominoART Blog! |
Friday, February 8, 2013
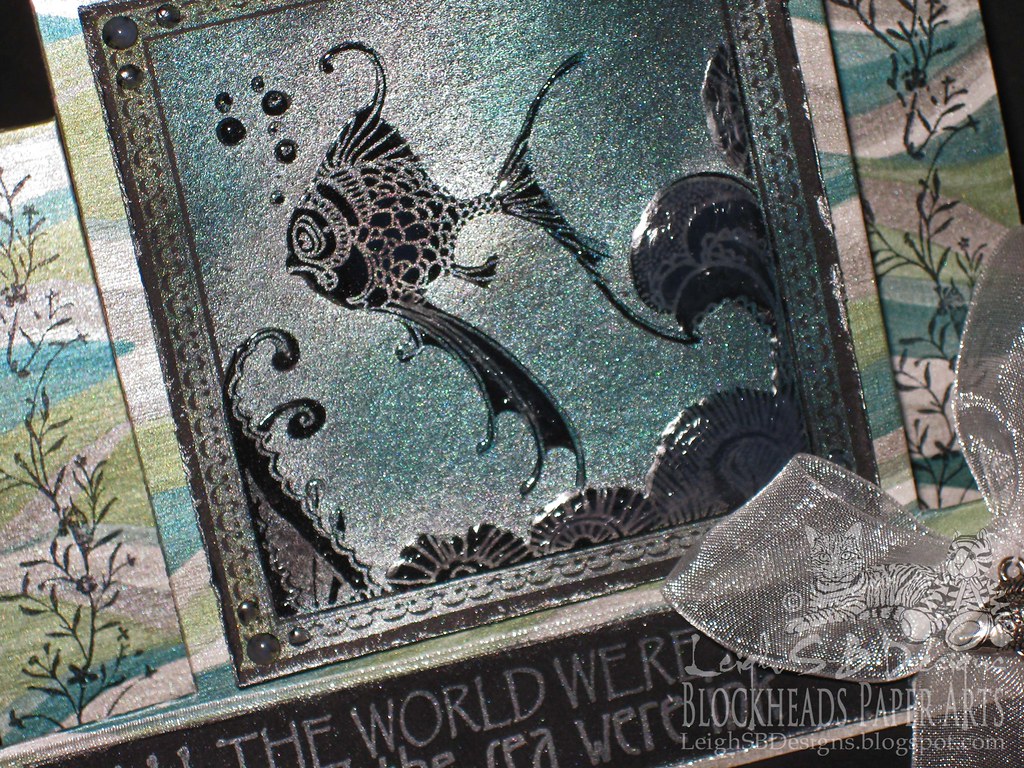
"Sea of Ink" Painting Backgrounds with Perfect Pearls
Created by: Leigh Snaith-Brunton, Design Team Member
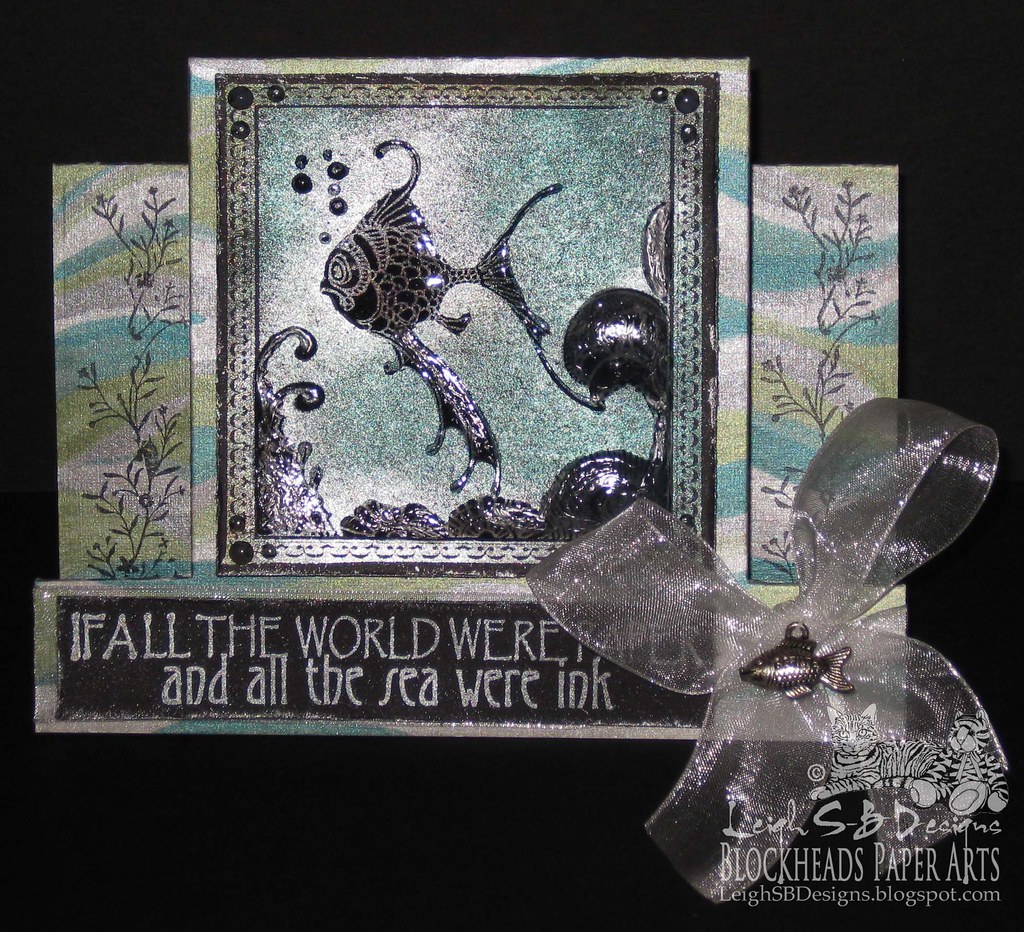
Description: Fish seascape step card decorated with Perfect Pearls Patinas and Perfect Pearl (white), Perfect Pearls or Versamark Watermark ink and Jet Black StazOn ink.
For step by step instructions for this card, please visit my full blog post on Leigh S-B Designs.
Tuesday, February 5, 2013
Damask Background Valentine with Perfect Pearls
| Created by: Karen McAlpine, Design Team Member Description: Valentine's Day card created using stamping, distressing, custom made Perfect Pearls spray. Size: 4 1/2 x 5 3/4" Stamp Set Used: Large Damask; Love and Romance Set from Blockheads. For step by step instructions for this card, visit my full blog post on Dreaming and Creating. |

Sunday, February 3, 2013
a little bit of whimsy . . .
 Stamp Set Used: Whimsical Faerie Wings and Whimsical Take Flight Happy Sunday, everyone! :)trisha |
Wednesday, April 18, 2012
Create amazing effects with Perfect Pearls, Peacock Feathers and Silver Embossing Powder!
 Description: Patina Perfect Pearls and Silver Embossing Powder were used to make a Peacock Butterfly gift box with a matching card and a Square Domino Pendant demonstrating various techniques to create a variety of different effects! Stamp Sets Used: Painted Butterflies and Proud As A Peacock For step by step instructions for these projects, please visit my full blog posts at Leigh S-B Designs and the DominoART Blog: |
Sunday, April 8, 2012
Perfect Pearls Powders & Mists

The design team and I have been working with Perfect Pearls and Perfect Mists this week. Perfect Pearls are mica powders similar to Pearl Ex but have a binder mixed in that helps them remain more stable when brushed over the Perfect Medium ink.
Perfect Mists are unlike other metallic sprays because they have no ink color, simply a shimmery mist that you can combine with any color of spray ink you like.
Sometimes the best products find their way to the backs of our craft drawers and we need a reminder about what they can do to make us get them back out again. The basic procedure for using Perfect Pearls is to stamp your image, brush the Perfect Pearls over the Perfect Medium, and finally brush off the excess to reveal a shimmery image. These look especially fabulous on dark cardstock. The interference set doesn't show much on light cardstock, but the other sets do.
Perfect Mists are unlike other metallic sprays because they have no ink color, simply a shimmery mist that you can combine with any color of spray ink you like.
Sometimes the best products find their way to the backs of our craft drawers and we need a reminder about what they can do to make us get them back out again. The basic procedure for using Perfect Pearls is to stamp your image, brush the Perfect Pearls over the Perfect Medium, and finally brush off the excess to reveal a shimmery image. These look especially fabulous on dark cardstock. The interference set doesn't show much on light cardstock, but the other sets do.
Visit Leigh Snaith-Brunton's blog for instructions on making the fabulous Peacock Box and matching card and using Perfect Pearls with the Magic Metal Technique to create the gorgeous peacock game-piece pendant. Leigh also shows a method on her blog for creating a variation of Perfect Pearls Mists using Distress inks and Perfect Pearls.
Karen McAlpine's Blog has another fantastic example of how beautiful the basic technique looks on black cardstock (post coming soon). You'll also find information on adding a little color behind the Perfect Pearls and see a great example of using Perfect Pearls Mists on her shabby chic example. She was able to add some beautiful metallic green without hiding the image underneath it.
Leslie Turner's blog shows a great example of using different color pearls to color the stamped lines of the image.
Karen McAlpine's Blog has another fantastic example of how beautiful the basic technique looks on black cardstock (post coming soon). You'll also find information on adding a little color behind the Perfect Pearls and see a great example of using Perfect Pearls Mists on her shabby chic example. She was able to add some beautiful metallic green without hiding the image underneath it.
Leslie Turner's blog shows a great example of using different color pearls to color the stamped lines of the image.
Continue reading for instructions on creating the Retro Friends card and the Leaf Stalk Silhouette cards where I demonstrate the following techniques and information: The difference between clear and black Perfect Medium, Mixing colors, using the Lift-Off technique to remove some of the Pearls from an existing image, and finally using the Tsukineko Glue Pad for an extra strong hold.
Saturday, March 17, 2012
My Honey

Created by: Leslie Turner, Design Team Member Description: Card created with Perfect Pearls - Naturals and distress ink Stamp Sets Used: ATC Honey Bees and Inspired By Nature For step by step instructions for this card, visit my full blog post on Love To Scrap! |
Subscribe to:
Posts (Atom)